My thesis film is here! Hope you enjoy it.
Never Stop Cycling from Colin Lepper on Vimeo.
Wednesday, 9 July 2014
Tuesday, 25 March 2014
Behind the Scenes
More significant and in depth posts are coming (props and sets), but it's been too long since an update, so here are some behind the scenes shots I took with my phone, some of my lighting set ups I was particularly proud of... and/or needed the photo to reference where I put them. I had NO experience with lighting prior to starting this film so it's been a ton of fun figuring it out and learning as I go.


Lighting got pretty damn precise during some scenes, I used this cone to put a spot just on a portion of my character's chest to lighten up a shadow. If I did it right no one will notice... and I couldn't have this setup go unseen!
I love the "anything goes" mentality of stop motion, you can see my little flash light being anchored down with a little vaseline bottle to get just a bit of light on those foreground elements.
Definitely the most complex shot of my film, it involved a walk throughout the shot as the camera moved on 3 different axis with the focus changing, and then as the forest is revealed, an average of about 5-10 mouth shapes were swapped each frame. Definitely am proud of how it turned out though!
The last day of shooting my "room" set. You can see the container holding the "small" mouths for the trees. There will be more on those weird trees soon...
Just a really serious down shot, had to attach a mirror to the salon to read the numbers for the camera pan.
Wednesday, 12 February 2014

Friday, 3 January 2014
Projectorcycle


I wish I took earlier progress photos, but here you can see the individual parts, almost everything is made of cardboard and vinyl tubing found at home depot, with a few sculpy pieces as well. You can also see the LED light that I have running through the bike's frame.


The film reel wheel was spray painted with a plastic spray paint then dry brushed to give it those scratch like looks. Still need to add the film on this reel though. Both the front and back wheel rotate as well.

The pedals are bits of sculpy with magnets inside them, so they will stick to the puppets feet. They also rotate at all the points a normal bike pedal would. You can also see the wiring coming out of the back of the bike here, this will be hidden in the final film.

The seat is made of foam and fake leather, that's been scratched and sanded to make it look worn out.


And there you have it! One projector bicycle.
Saturday, 28 December 2013
Puppet head
This post will just go in to a bit more detail about the puppet head, I won't post any steps because the Joshua Flynn's blog already has a great step by step guide that I followed here. So if you're interested in making something like this yourself just head over there! Making a head with replaceable features is definitely hard work, and knowing how hard it is now I'm not sure if I'd choose this method again, but it just looked like so much fun and the end product looks so slick that I couldn't resist trying. The mouth and brow pieces snap on and off with magnets, and it's just too fun to switch them.


Here you can see my first attempt at the head, unfortunately I took it all the way to casting before I realized that the face pieces fit too loosely on the main head. As a design choice, I emphasized the gaps between the facial features instead of trying to hide them and end up a line running across the character's face (since I wouldn't want to edit it out in post), however I didn't realize at the time that this would make the pieces be able to tilt side to side, especially because the main head piece was just a smooth curve...so when I tried some pieces out with the magnets that secure them, they shifted, meaning the face would jitter a ton when it came to animating... so I restarted:


This time around I reconstructed the main head shape so that the mouth pieces fit snugly in place, and the nails in the mouth/forehead pieces that attach to the magnets had more plastic to be adhered too.They don't even really need the magnets, but they definitely don't hurt.
The neck was an interesting endeavour, since I didn't want any seam between the head and the neck, the neck and back of the head are one piece of silicone, with the armature running through it. The main plastic head piece then slots into the neck and back of the head.


here you can see the molds and the face pieces, with sculpy expressions sculpted and baked on, ready to paint.

And the final product! More professional looking expression pages are to come, but here you can see me messing around with different angles and filters, since the film will largely be in black and white.


Monday, 23 December 2013
Alarm-clock Helmet
Unfortunately I forgot to take progress photos of this, but here is the alarm clock/helmet that will sit on top of the characters head. The "cork" part at the bottom pops off so it will look like it's inserted inside the head, when really there is just a k&s tube that slots in to the top of the head. The hands on the clock move, the bell will shake side to side, and the hammer and wrench move in and out!
Since this is added weight on the puppet, it was made to be as light as possible, everything you see is either made of cardboard or polyurethane foam, except the bell and the heads of the tools, which are small bits of sculpy.


Since this is added weight on the puppet, it was made to be as light as possible, everything you see is either made of cardboard or polyurethane foam, except the bell and the heads of the tools, which are small bits of sculpy.


Sunday, 22 December 2013
Picture Frames
Here are some photos of the picture frames which will hang on the wall behind my character...


They are quite easy to make, the basic frames were cut out of foam board, and split down the middle to allow for the "glass" to be a little bit separated from the photo, just like a real frame.
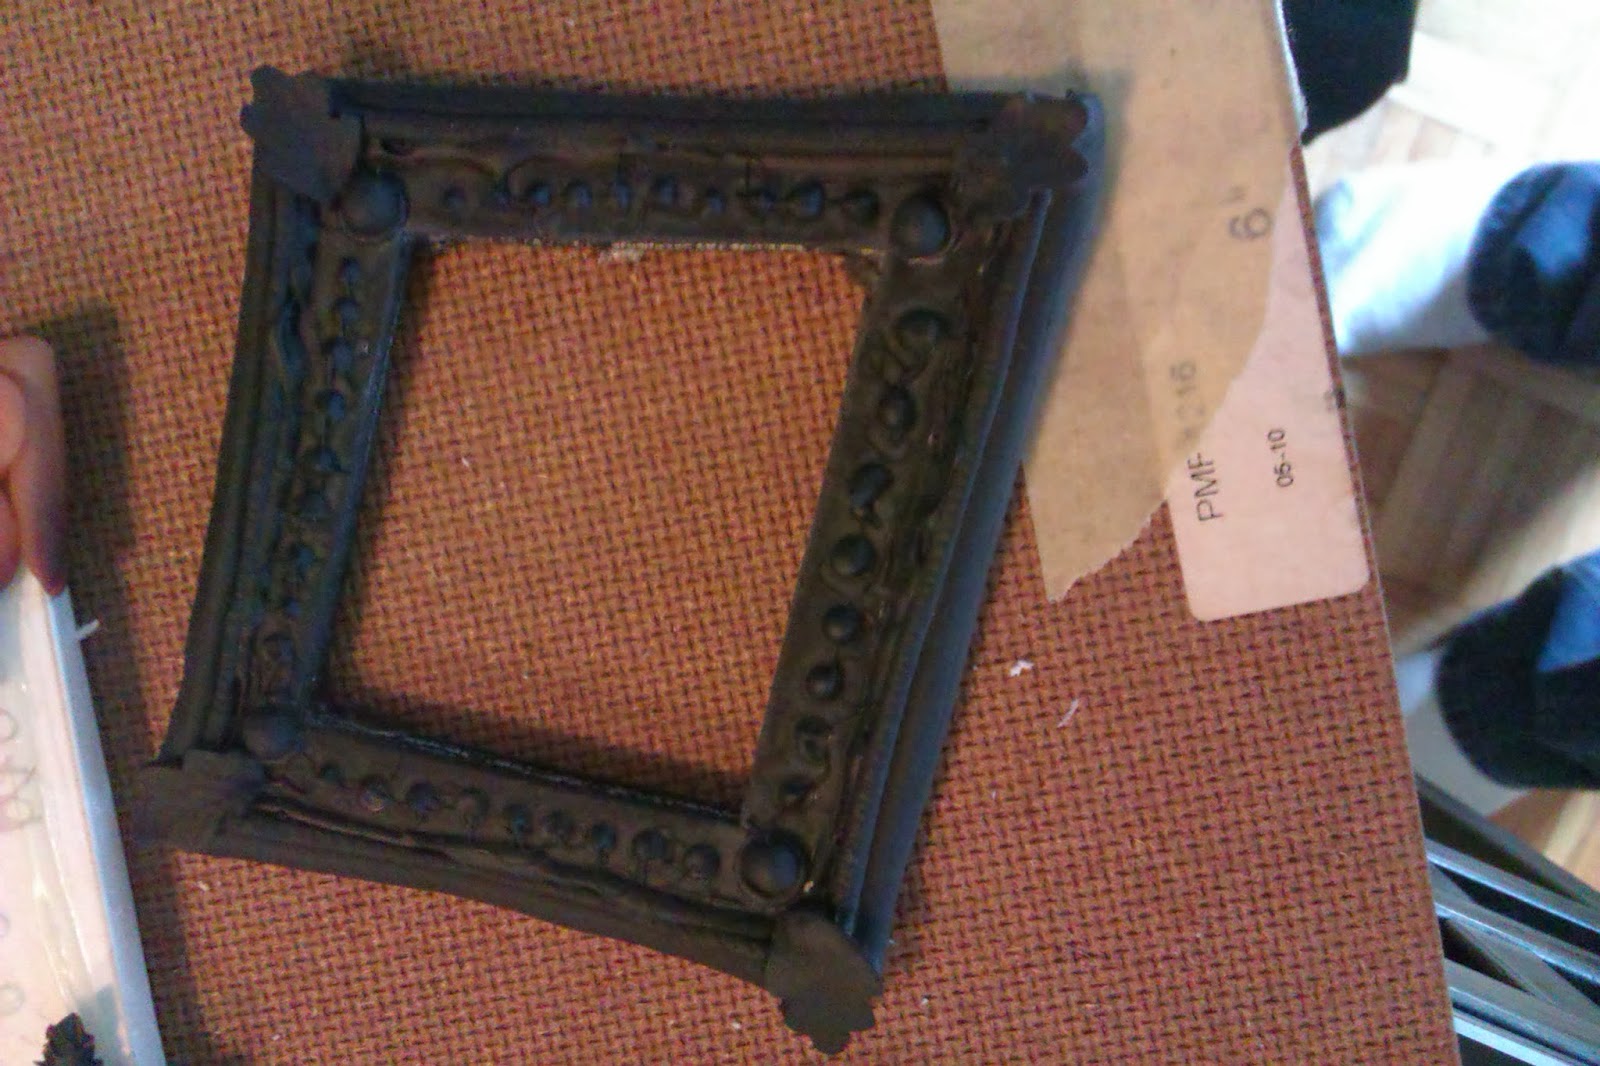

Then it's just a matter of spray painting them black. Glass was made from the plastic that comes with most electronic packaging, then sprayed with spray adhesive and dusted with baby powder, to give it that worn and dirty look.


Add some dry brush and voila! Now printed photos will be attached to the backs of these, and they will be hung on the wall.
Subscribe to:
Posts (Atom)